Absolutely no need to buy chocolate bark from a store anymore. This Rocky Road Chocolate Bark is truly one of the quickest and easiest desserts or gifts you could whip up in a matter of minutes. The hardest part is letting the chocolate cool.
We're on full holiday mode around here. The kids will visit Santa this weekend, last-minute gifts will be purchased, Christmas parties will be attended, and packages will be mailed to family around the country. This Rocky Road Chocolate Bark is one of those perfect gifts for people who you want to do something nice for but you also don't need to go crazy for. You have those people in your life, right? Rocky Road Chocolate Bark is going to be that gift for people this year.
Rocky road, a combination of chocolate, marshmallows, and almonds, makes me think of my parents because they'd eat the heck out of some rocky road ice cream. I'd always be so disappointed it wasn't just plain chocolate. Ice cream with NUTS in it? Yuck. Now my palette is much more sophisticated, and although I don't love nuts in everything (they do NOT belong in brownies, for example), generally speaking, I do love almonds and chocolate together. (And if you want a quick rocky road ice cream, this No Churn S'mores Ice Cream could easily be adapted to include nuts instead of graham crackers.)

Want to Save This Recipe?
Enter your email below, and I'll send it to you. Plus, you'll get delicious new recipes from me!
By submitting this form, you consent to receive emails from Worn Slap Out
This Rocky Road Chocolate Bark is so easy to make. Like really easy. So easy I considered not sharing it at all because there's not much to it. Not only is it delicious, it's a perfect gift to give others like I mentioned. I'm not going to stress this year about what to get everyone -- they're getting this bark that'll be stacked beautiful in a clear cellophane bag with a festive, big ribbon.
The other thing I love about this bark is that it's deliciously thick -- no scrawny pieces here. The pieces are about ¼" thick, so it's really substantial bark. If you prefer thinner, crispier bark, just pour the chocolate into a 9x13" rectangular pan instead of a square one. I think you need a thicker bark when marshmallows are involved though.

Ingredients to make Rocky Road Chocolate Bark
This bark only requires the following items: chocolate (your preference on the type...see below for more details), vanilla extract, marshmallows, mini chocolate chips, almond slivers, and white chocolate melting wafers.
Your have most of these items probably in your pantry, right?
What chocolate is best for making bark?
This is totally a personal preference because there are milk chocolate purists and dark chocolate purists out there (or make two batches and make both!), but I find that the type of chocolate doesn't matter as much as the quality of your chocolate.
I would not use a chocolate bar you find in the checkout line for any kind of bark. The chocolate is truly the star of the show in this recipe, so go to the baking aisle NOT the candy aisle to look at the chocolate options. I typically use a big hunk of Callebaut's dark chocolate or Chocolates El Rey milk chocolate, both of which you can get at Whole Foods. The Ghirardelli chocolate bars work just fine, too. If you want to splurge on a great dark chocolate, this Valhrona is money.
I typically dig chocolate in the 60-70% cocoa range but, again, this is purely a personal preference.
Do I need to temper the chocolate?
Yes, and don't let the word "temper" scare you. You can do all of this in the microwave and it will take you about 2 minutes total. Yay! Tempering the chocolate makes sure that it comes out glossy and smooth as opposed to crystally and waxy. If you over heat your chocolate, there's no turning back. You'll have to start over with new chocolate, so make sure you heat slowly (read below).

How do I temper chocolate in the microwave?
Break your chocolate bars up into smaller pieces so it melts easier. Put ⅔ of the chocolate and vanilla extract in a microwave-safe bowl and heat in 30 second increments. Each 30 seconds, take the chocolate out of the microwave to give it a stir (even if it doesn't seem "stir-able"). Once the chocolate is all melted, add in the remaining ⅓ of the chocolate and stir in until melted. NOTE: This means the chocolate mixture should be hot enough to melt the remaining chocolate without sticking back in the microwave. This is essential to bringing down the temperature of the chocolate. Let it cool for 5 more minutes before spreading into your parchment-lined pan.
How do you break chocolate bark?
Use your hands! To avoid getting your paws all over the chocolate, either put your hands in plastic bags or wrap the block in parchment paper. Now your chocolate is fingerprint free, especially important if you're gifting the bark!
Don't worry about being neat. I think the messier and more scraggly the bark, the better. After all, it's supposed to look like edible tree bark -- which is not symmetrical or smooth-edged.

Do I need to refrigerate chocolate bark?
No! If you refrigerate the chocolate bark, water droplets may form on the chocolate, and if you stick in the freezer, chocolate often becomes dusty looking. Just let the chocolate sit at room temperature until it's solid (about 3 hours) then store in an airtight container. It'll stay fresh for 3-4 days (the marshmallows make this bark not last as long as other barks).
Chocolate Bark Variations
The beauty of this recipe, like so many others I make, is that you can use whatever you have in the pantry and adapt this recipe to your favorite things. Here are some other options:
- White chocolate and peppermint -- add some crushed up candy canes to press into your chocolate bark. Step over, Williams Sonoma. This takes 5 minutes of your time and is even more delicious because it's homemade.
- Make the chocolate bark more festive with red and green M&Ms.
- Dried nuts and seeds. How about some pistachios and dried cranberries?
- Nuts, nuts, nuts! Use almonds, pistachios, and walnuts to make this chocolate bark extra nutty.
- How about white chocolate and freeze dried strawberries?
- How about milk chocolate and candied orange?
See what I mean? The options are endless.

Christmas Cookie Collab
There are so many amazing bloggers who have put together this virtual cookie party thanks to Cosette from Cosette's Kitchen (clearly I took a little liberty with what's considered a "cookie") but check these other amazing treats for your next cookie extravaganza:
- Kathryn Pauline’s Sesame Blossom Cookies
- Candice Walker’s Dark Chocolate Gelt with Matcha Mousse
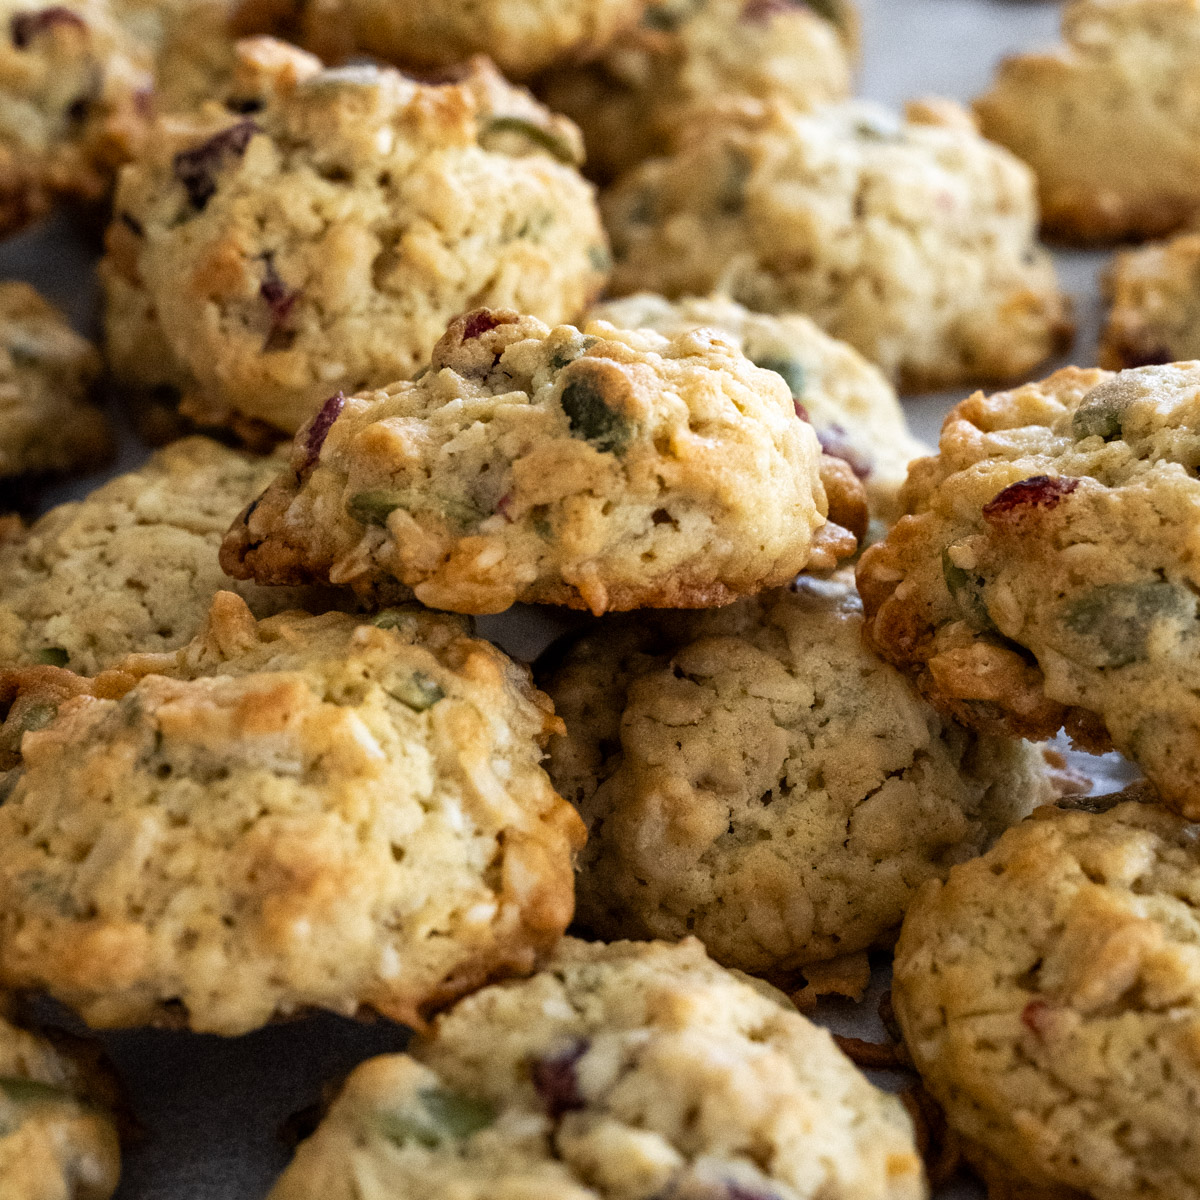
- Tawnie Graham’s (Krolls_Korner) White Chocolate Cranberry CookiesÂ
- ¡Hola! Jalapeño Peppermint Mocha Milk FudgeÂ
- Rylee Foer (About to Sprout) Spiced Honey Cardamom Cookies with Orange GlazeÂ
- Gina Fontana (Healthy Little Vittles) Cookie Dough Stuffed Dates
- Christine Ma (Cherry on My Sundae) Southern Butter Pecan Skillet Cookie
- Alexa Blay’s (Key To My Lime) Gluten Free Vegan Sugar Cookies for Cutouts
- Mike Johnson’s (MikeBakesNYC) Chocolate Peppermint Macarons
- Elizabeth Waterson (ConfessionsOfABakingQueen) Viennese Whirls
- Erin Kowal's (Down to a Simmer) Date Drop Cookies
- Kathleen Culver (The Floured Table) Triple Ginger Molasses Cookies
Kathryn


Rocky Road Chocolate Bark
Ingredients
- 12 oz high quality chocolate, whatever type you prefer, divided
- ½ cup marshmallows
- ¼ cup almond slivers (or whole almonds)
- ¼ cup mini chocolate chips
- ½ cup white chocolate melting wafers
Instructions
- Line a 9" square pan with parchment paper so the parchment paper goes up both sides of the pan.
- In a microwave safe bowl, heat up ⅔ of your chocolate and vanilla extract in 30 second increments until the chocolate is completely melted, stirring every 30 seconds. Add the rest of the chocolate and stir by hand until all melted. Let cool for 5 minutes.
- Pour chocolate mixture into pan. Add chocolate chips, almond slivers, and marshmallows. Press the toppings down into the chocolate slightly.
- Melt white chocolate wafers in a microwave safe bowl in 30 second increments. Using a spoon, drizzle the chocolate all over the chocolate square. Let cool for 3 hours when you can take the chocolate sheet out of the pan and break into whatever sized pieces you prefer.*
Notes
Nutrition

Alla says
What a great idea! Looks delicious!
Kathryn says
Thanks so much, Alla! It was gone in record time in our house.