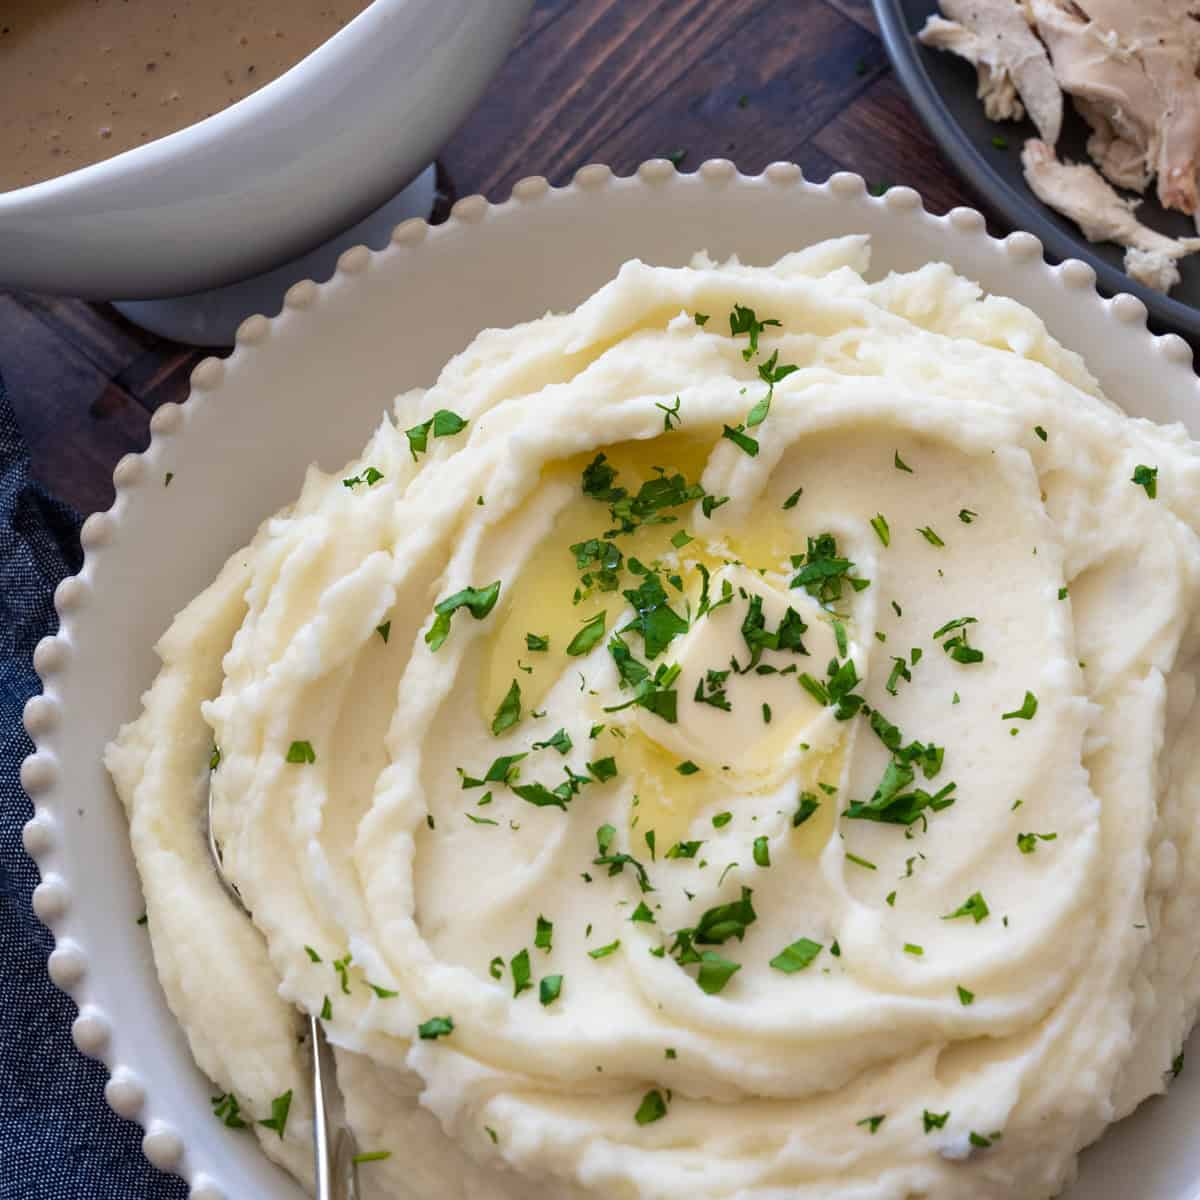
Just as creamy and delicious as mashed potatoes, this vegan butternut squash mash is a great side dish for any meal -- weeknight or for the holidays.
It's fall, y'all. I was begrudgingly transitioning from summer to fall produce, but now I have fully embraced the change. The weather ain't gettin' any warmer, and my oven has been on for what seems like half the day roasting all of the things. Since we're still working from home, I'm roasting short ribs, baby back ribs, and any and all vegetables. An added bonus: the oven heats up our frigid house!

Want to Save This Recipe?
Enter your email below, and I'll send it to you. Plus, you'll get delicious new recipes from me!
By submitting this form, you consent to receive emails from Worn Slap Out
I often roast vegetables really simply -- broccoli, carrots, and sweet potatoes with olive oil, salt and pepper being among the most popular with the kids -- but sometimes it's nice to mix up the same old same old. This butternut squash mash requires approximately 3 extra minutes of your time beyond roasting. Throw the roasted squash in a bowl, add some maple syrup to sweeten, a little nutmeg for some nuttiness, and salt and pepper. That's all, folks.
This butternut squash mash is a creamy side dish to have for a weeknight dinner or include on your table for the holidays. Make in advance or make it just before serving, this mashed butternut squash is a tried and true and easy side when you want something healthier than your standard mashed potatoes.
How to Cut Butternut Squash
Cutting a butternut squash has got to be among the world's worst thing to cut. My friend had to go to the emergency room recently and told me one of the patients walked in with a butternut squash injury. All to say -- be careful and don't do anything stupid (which is easy to do when you're handling this awkward vegetable).
This is a great article with pictures and video on how to cut butternut squash in the safest way possible. I also try to get the squashes that aren't the largest either because 1.) it makes my husband feel inadequate (his words) and 2.) they're unwieldy to cut.
How to Make Creamy Butternut Squash Mash
Step 1: Roast the butternut squash in cubes with a generous amount of olive oil.
The butternut squash cubes will roast at high heat and get slightly caramelized on top. The squash is fork tender when ready, about 30 minutes.
Step 2: Mash along with the goods
Transfer butternut squash to a bowl and use a masher or fork to mash the squash. Add maple syrup, a touch of nutmeg, then salt and pepper to taste. Serve warm with your favorite entree. Bam!
Make Ahead or Reheat
- To make ahead: Store the butternut squash in an airtight container. The mash stays great for 2-3 days.
- To reheat: Reheat mashed butternut squash holds up really well in the refrigerator and reheats equally as well. Reheat in the microwave at 50% power for about 5 minutes or reheat on the stove-top (preferred method) over medium heat. You can add a splash of almond (or regular) milk if it needs some additional liquid.
- To freeze: You can freeze the mash in a freezer bag flat in the freezer. Just make sure you get as much air out as possible.
What to Eat with Butternut Squash Mash
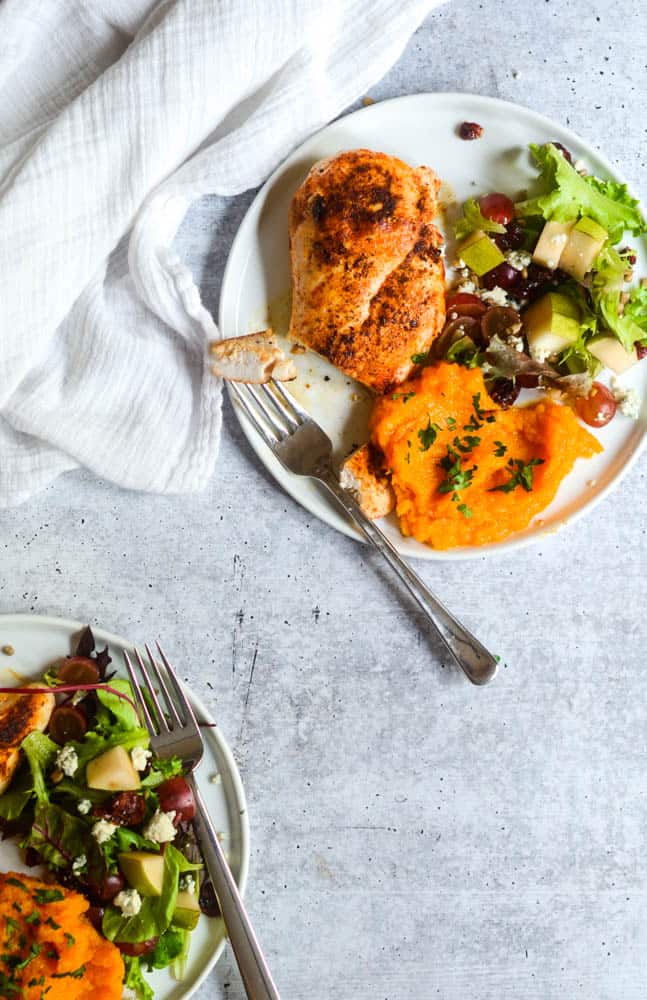
- Perfect Pan-Seared Chicken Breast
- Garlic and Rosemary Lamb Chops
- Zero Effs Chicken
- Baked Buttermilk Chicken Tenders
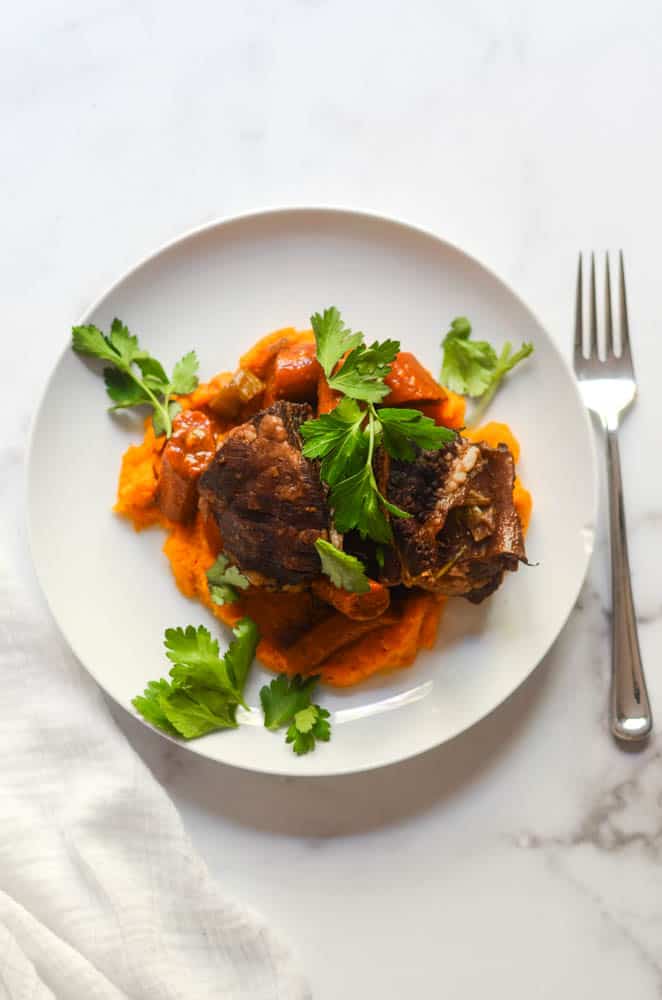
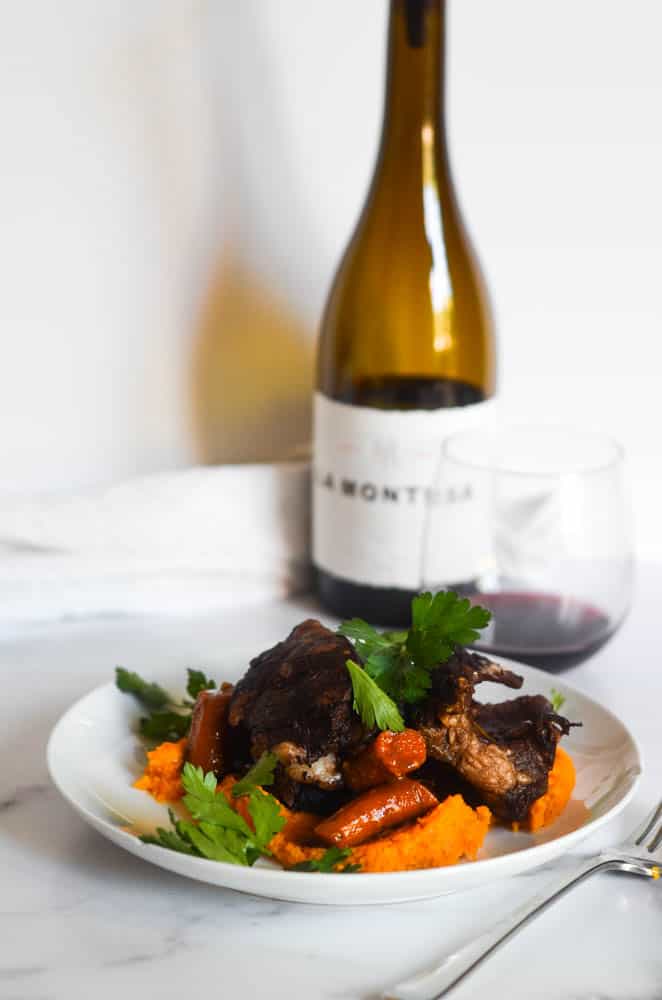
- Red Wine-Braised Short Ribs
xox,
kathryn
As always, if you make anything from the blog, be sure to let me know! I love hearing from you in the comments on this post below or find Worn Slap Out on Facebook, Instagram, or Pinterest!

Butternut Squash Mash
Ingredients
- 1 large butternut squash (or two smaller ones) peeled, cleaned, and cut into cubes
- 4 Tablespoons olive oil
- 1 teaspoon salt
- ¼ teaspoon pepper
- 1 Tablespoon maple syrup
- ¼ teaspoon nutmeg
- 2 Tablespoons almond milk* optional
- fresh parsley optional for garnish
Instructions
- Preheat oven to 425ËšF. Line baking sheet with parchment paper and place butternut squash cubes on sheet. Drizzle with olive oil, salt, and pepper and gently toss with hands to coat squash well. Bake squash for 30 minutes.
- Remove butternut squash cubes to bowl and use masher or fork to mash butternut squash. Add maple syrup, nutmeg, and salt and pepper (to taste). If mixture still needs to be thinned, add a small amount of almond or regular milk. Serve warm!
Notes
- To make ahead: Store the butternut squash in an airtight container. The mash stays great for 2-3 days.
- To reheat: Reheat mashed butternut squash holds up really well in the refrigerator and reheats equally as well. Reheat in the microwave at 50% power for about 5 minutes or reheat on the stove-top (preferred method) over medium heat. You can add a splash of almond (or regular) milk if it needs some additional liquid.
- To freeze: You can freeze the mash in a freezer bag flat in the freezer. Just make sure you get as much air out as possible.
Comments
No Comments